Wednesday, December 26, 2012

50% Off Specials

It's the day after Christmas, but it's also a Wednesday - this means that the Something Old, Something New sale is on at The Lilypad, with some awesome products 50% off! Here's what I scrapped with a bunch of them:

Triple A

Credits:
Record It by Sabrina Dupre
Lupine confetti by Sara Gleason
The Royal Invites font by Heather Hess

Hare a nice day!

Sunday, December 23, 2012

December Daily - Days 8-14

I am not on holiday break yet (yuck!), but I conceded myself some time over the weekend to catch up on my December Daily album. :)

DD 2012 - Days 8-11

Not much happened these days that was Christmas-related, so I only had elf pictures for my album. :) I also included a funny joke DH forwarded to me on Facebook. The next spread took me a little more time to put together, and I love how it turned out!

DD 2012 - Days 12-14

The green paper is from Basic Grey Fact & Fiction.

DD 2012 - Days 12-14

I stamped a pretty pine stamp by Martha Stewart on the little tag with green ink - so pretty! The date stamp is done with my latest favorite number stamp purchase. The Ho Ho Ho is from a set by Valorie Wibbens, and the glittered stars card is by Paislee Press.

DD 2012 - Days 12-14

I had lots of fun stamping and embossing here! The number stamps (from Kelly Purkey's December Daily kit) were embossed with gold glitter zing on vellum. The other stamp (from Studio Calico) is also embossed in gold glitter zing, and then I sprayed Estate Green Mister Huey on top - it really makes the gold shine even more! The little stars are punched out from a foil wrapping using this awesome punch - another of my recent purchases, and you'll be seeing more of it soon. :)

I finally bought myself a tiny attacher by Tim Holtz, and I've already put it to use to hold down those sequins. I love it!! Here are a few other things I used to make this page.


That's all I have for now! I'm a little over a week behind, but it'll be easy to catch up - as soon as I have some free time!

Thursday, December 20, 2012

December Daily - Days 2-7

As promised, I am back to share some December Daily pages. I had started out this project thinking I would be combining my Project Life and December Daily albums in one, but the truth is I love Christmas so much that it deserves its own album! :) So I'm doing a true Dec. Daily album, and I'll catch up (or not.. ;)) on the ordinary events in my PL album. :) I have been super busy with my last classes and exams, on top of my regular work, so I'm a bit behind, but I am keeping things simple in this album, so I will be catching up soon. Here are days 2-7!

DD 2012 - Day 2

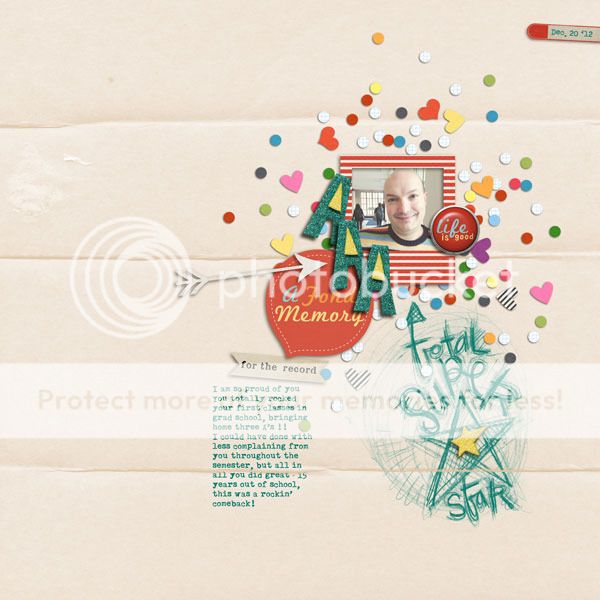
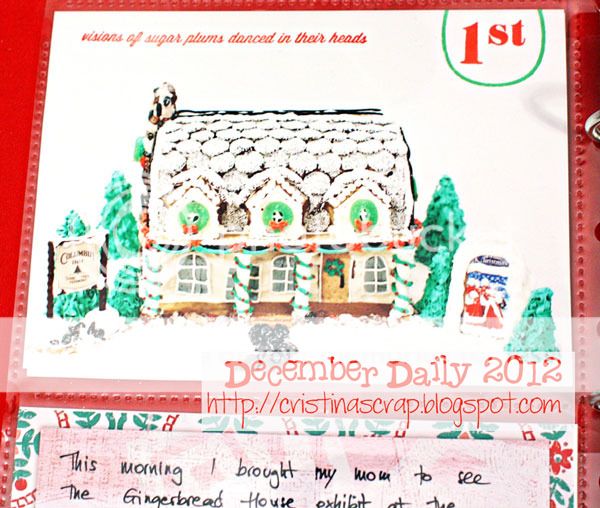
I splurged and bought Kelly Purkey's December Daily kit - I fell in love with the stamp, and I just couldn't resist - and I'm so glad I did! For this spread I just used a journaling card from the kit and the stamp for the date. The rest is all photos - I loved them all and wanted to include them. My two favorite people in the whole world!

DD 2012 - Day 2

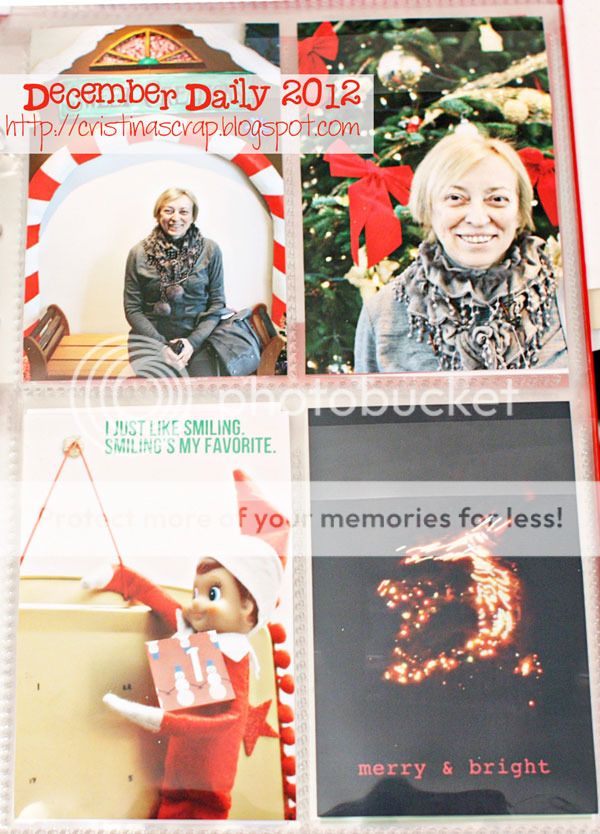
I thought the confetti journaling card went perfectly with all the Christmas lights/bokeh pictures. ;)

DD 2012 - Days 3-5

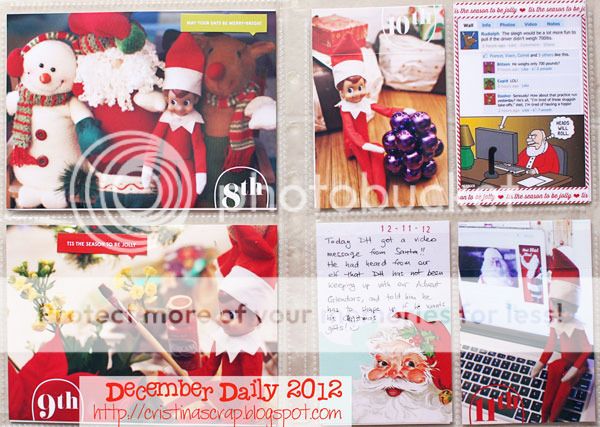
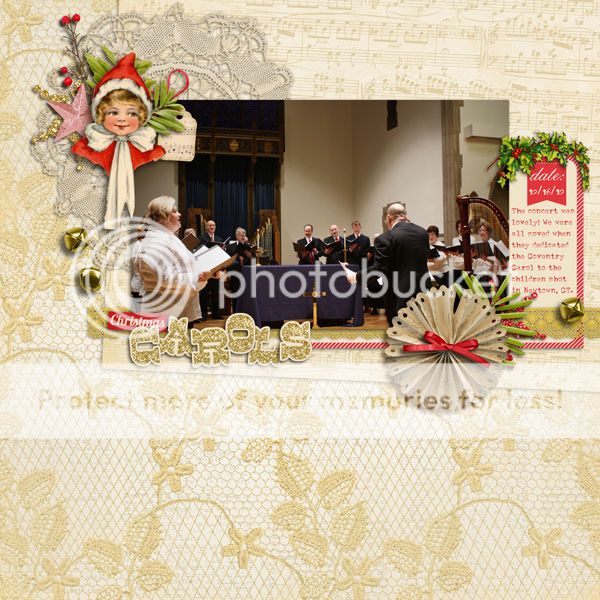
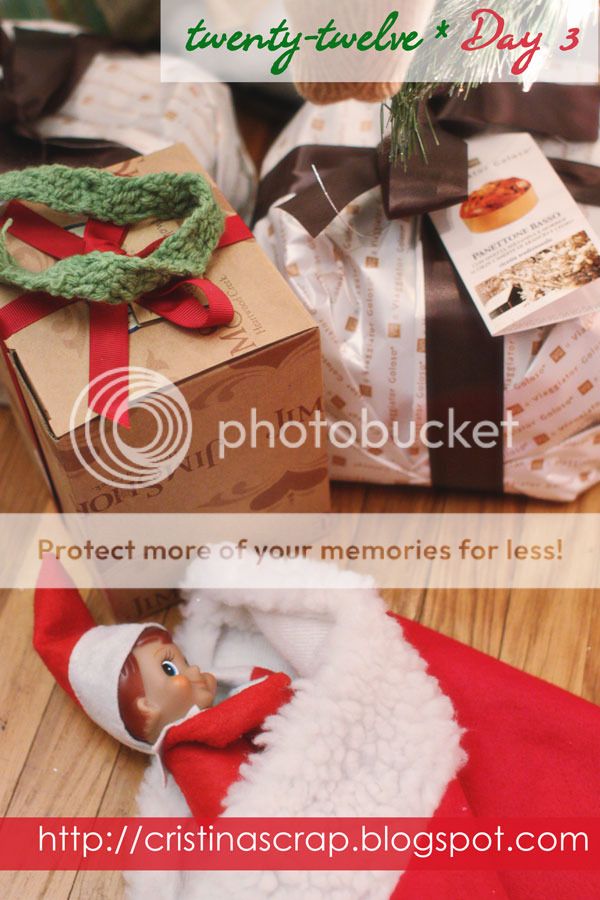
I included as an insert a prank from our elf.. ;) DH was printing out 200 copies of the program for a concert that would take place on Dec. 16th, and our elf decided to steal the show and printed his own version! :)

DD 2012 - Days 3-5 

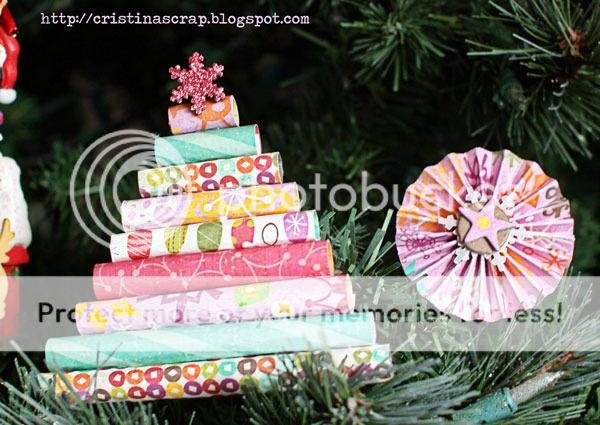
Gotta have glitter in my album! :) The label is from the Studio Calico 25 Days class (Dec. Daily class) kit; the background paper is by Basic Grey Fact&Fiction, I covered a Studio Calico Wonderland wood veneer tree with Stickles, and layered it on top of some awesome glitter tape. Oh and the date stamp? I recently bought this awesome number stamp and I'm in love!

DD 2012 - Days 6-7

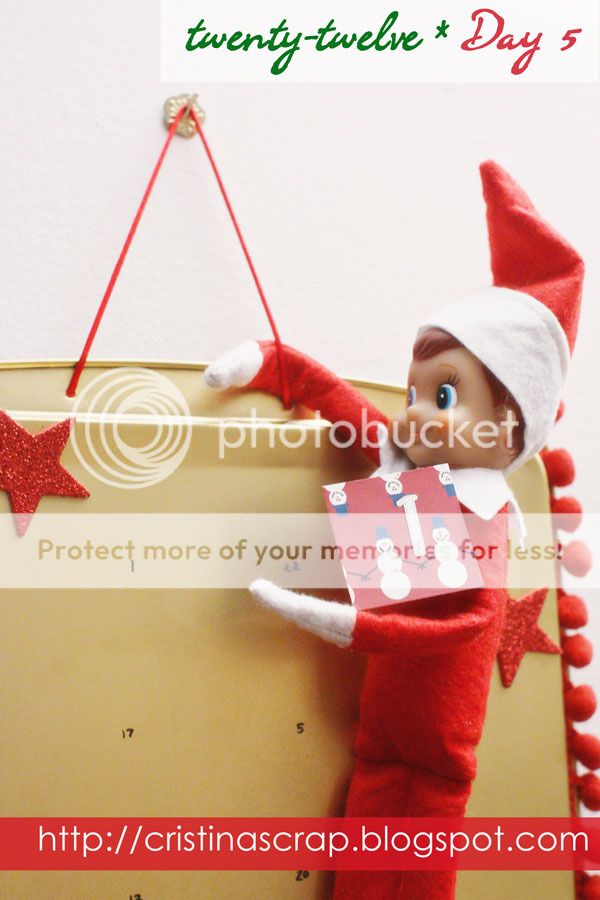
You will start seeing a pattern here.. when I don't have any Christmas pictures for the day, all you get is an Elf picture. :) So I can also combine multiple days in one page and keep the thickness of the album reasonable. I journaled and stamped on the back of the program (stamps by Ali Edwards, Cute and So Totally Happy sets). On the right, filler cards are made with A Christmas Tradition by Jenn Barrette and Valorie Wibbens.

DD 2012 - Days 6-7

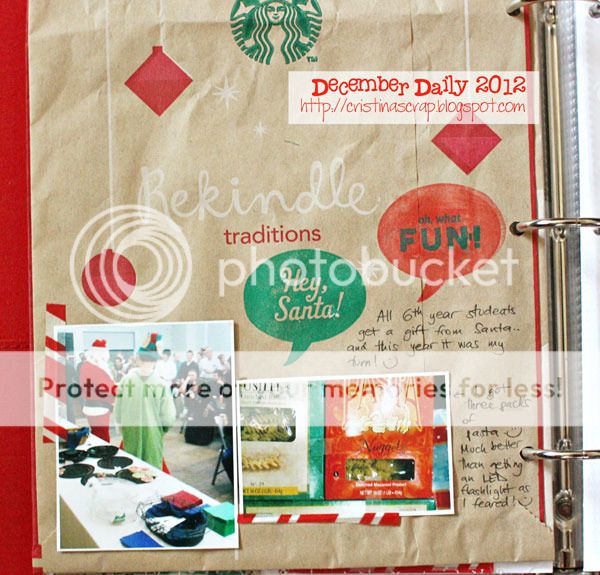
For this spread, I added in a paper bag from Starbucks - I love their designs so much, plus you never go wrong with bunnies! <3 a="a" href="http://scrapflower.com/shoppe/product.php?productid=21109" i="i" left="left" on="on" target="_blank" the="the" used="used">journaling card by creashens
 (slightly recolored), and the bottom two pockets are made using A Very Vintage Christmas by Digital Design Essentials.

DD 2012 - Days 6-7

I had so much fun decorating the back of the paper bag!

DD 2012 - Days 6-7

In all honesty, I botched the first stamping: I stamped "Hey Santa!" (from KP's DD kit) in red but I didn't press it down properly so the middle remained blank, so I decided to color the whole bubble red and stamp another sentiment on top of it instead (oh what fun, from the 25 Days class kit). I chose green because it matched the Starbucks logo, and I restamped the Hey Santa in green too (properly this time). ;) I love the result!!

DD 2012 - Days 6-7

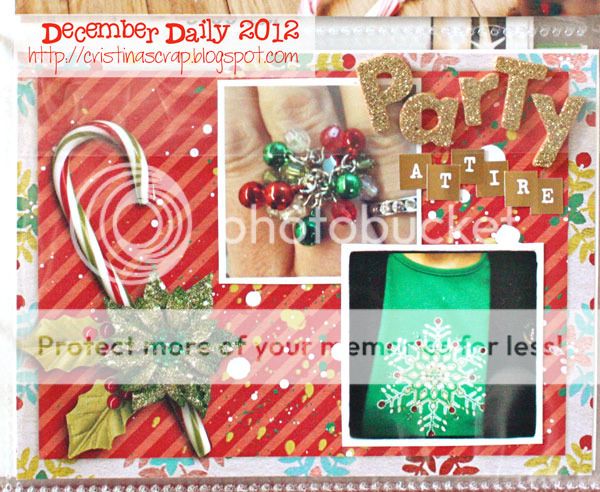
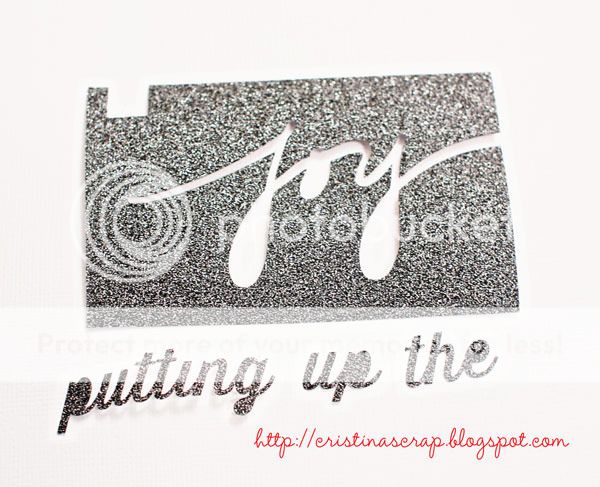
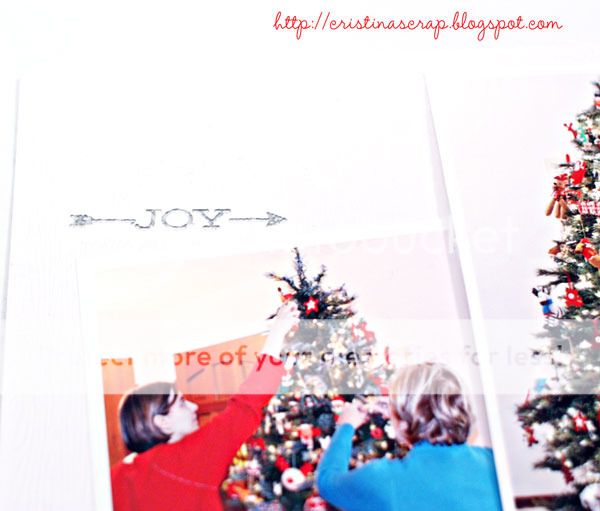
I love this page too - I decided to use a journaling card I'd pre-made using Jenn Barrette's A Month of Memories and I only just realized that it matched the picture on top of it perfectly, with the peppermint sticks! I made the title using Dear Lizzy tile stickers (the package comes with 2 sheets, one with gold letters on white and the other with white stickers on gold) and Dear Lizzy Fox glitter thickers.

That's all I have for now, hoping to get caught up very soon!

Wednesday, December 19, 2012

Paper ornaments

I'm taking a short break today from studying for finals (ugh!) to share two festive ornaments I did for a challenge on the Crate Paper blog. I used one of my all time favorite Christmas line, Snow Day. It's an old collection, but it looks like you can still find the 6x6 paper pad for purchase. I am glad I still have a few bits and pieces - the paper is of fabulous quality, super thick!

Crate Paper ornaments

These two ornaments were fun and quick to make! For the rosette, I cut two 1"x6" strips of paper, scored them every 1/4" with my new scoring board (I am in love!!), and glued them together. Then I assembled the rosette with my glue gun. I layered a vellum punched snowflake and a chipboard element from the Snow Day collection.

Rosette ornament

For the tree, I cut different lengths of paper strips and rolled them around a pen. I glued them with the glue gun, then I topped the tree with a Studio Calico wood veneer snowflake, covered in glitter (tourmaline color).

Tree ornament

They look so pretty on our Christmas tree! :) Today we had lots of sun, and I was able to take pictures of my December Daily, so I'll be sharing those soon. :)

Sunday, December 16, 2012

Christmas Carols

DH sang in a Christmas concert today, and the latest kit by Digital Design Essentials was perfect to scrap this occasion!


I love the mix of red, green, pink and gold in this kit!

Christmas Carols

Credits:
Shabby Holiday kit and Holiday Glitters Alpha by Digital Design Essentials
The Reed font by Heather Hess

I can't wait for this upcoming week to be over, with all its exams and deadlines, so I can finally savor the magic of Christmas.

Make sure you visit the Digital Design Essentials blog each day to download a freebie!

Saturday, December 15, 2012

Baking Spirits Bright

Mari Koegelenberg and Valorie Wibbens have teamed up to create a wonderful Christmas collection called Baking Spirits Bright (how fun is that name?!!)!


Busy with finals, we haven't done any Christmas baking yet :(, but I had some gingerbread house pictures that were perfect to scrap with this kit!

Best Tradition

Credits:
Baking Spirits Bright by Mari Koegelenberg and Valorie Wibbens
Font: Amelie

The kit is packed with gorgeous papers, so I made this tree because I want to use a few of them on my page. :)

Wednesday, December 12, 2012

Putting up the Tree - Paper LO

In the past few months, after falling in love with paper and stamps while working on my Project Life, I have ventured into paper scrapbooking, and I am hooked! I haven't blogged any of my pages so far, but that is about to change. :) Today I want to walk you through a page I made while my mom was visiting - it was a super quick page, and I had fun putting it together.
Putting up the TreePutting up the Tree

Inspiration
The inspiration for this page came from a roll of pretty trims I bought with my mom.

Putting up the Tree

Isn't it super festive?? I matched it with pictures of my mom and me putting up the tree. :)

Colors and cutouts
Unfortunately my mom wasn't wearing Christmas colors in the picture :) but I went with it anyway and I ended up liking the blue colors in the end. ;) I took a class on the Silhouette at Studio Calico last month, and I wanted to include some cut outs on my page. This was my first time using and cutting POW glitter paper by American Crafts - seriously, that stuff is amazing!! The only color I had on hand was this dark charcoal, so I decided to combine it with some touches of silver.

Layout design
Being born as a digital scrapbooker, I felt most comfortable mapping out this page on the computer to decide what size to print out my photos at and figure out how big my cut outs needed to be. I decided to use the negative of a cut for my title.

Cut outs
I cut out two words/phrases from POW paper with my Silhouette. The "joy" writing is from the Silhouette store, and I love how pretty the negative is too! I will definitely be using that in my December Daily album.

Putting up the Tree

Getting started
Once I printed out the photos, the first step was to choose my background paper and figure out where to stamp. I went with a white woodgrain paper because I already had plenty of color in my photos. I used some exclusive stamps from the 25 Days class at Studio Calico and another from Kelly Purkey's Dec. Daily kit. I put the stamps on acrylic blocks and placed them on the page to get an idea of the layout. Before stamping I took a quick snapshot of the layout in case I forgot how everything was supposed to be put together after the stamping. :)

Putting up the tree

Stamping+embossing
As I mentioned earlier, I decided to add some touches of silver, so I stamped my stamps with clear ink and embossed in silver. (my not-so-crafty mom watched the process in awe - she was really impressed at how cool embossing is ;) I will not mention that after I finished putting the final touches to this page she said "I don't know where you find the patience for this, I'd have already thrown everything out!! :-))


Photobucket

While I was at it, I also embossed some Studio Calico wood veneer in silver - snowflakes and trees.

Putting up the Tree

I pressed the wood veneer down onto the clear ink pad, sparkled the embossing powder on top and then I used a pair of tweezers to hold on the little pieces while I turned on the heat gun. Some of the pieces didn't get good coverage at the center, but I kind of like that look too - it reminds me of icicles!

Putting up the Tree

I decided not to emboss the large tree that goes with the title, because I loved the look of plain wood on top of the sparkly POW paper.

Putting up the Tree

Journaling
I didn't want to risk botching the page with the journaling, so I went the safe route - I wrote onto vellum, then cut it into strips and moved them around to find the best placement. At this point I cut out some pieces of the pretty trim and placed them on my page as well (it took a while to get it to stay straight but I figured it out! :) I attached it to the back of the POW paper with washi tape). Then I adhered everything, and I attached the pieces of vellum using drops of glossy accents.

Putting up the Tree

Title
I debated whether to put in the words for "tree" or just leave the wood veneer, but in the end I did add a silver glitter alpha because I wanted to add some more silver touches.

Putting up the Tree

And that's it! I hope you enjoyed this tutorial!

Supply list:
woodgrain paper by LCI paper
POW paper by American Crafts
Stamps by Studio Calico and Kelly Purkey
Wonderland wood veneer by Studio Calico: snowflakes and trees
vellum paper
ZING! silver embossing powder
American Crafts slick writer black
Amy Tangerine Scene Thickers
Silhouette SD cutting machine
Foam dots
Glossy Accents (Ranger)
Canon photo paper
Trim by Living home
Versamark clear ink
Embossing heat gun
Roller date stamp K&Company
Archival Jet black ink (Ranger)

Feeling Festive

Digital Design Essentials has another gorgeous new Christmas collection in the store! All the pieces are on sale for as low as $2 so grab it quick!


I hate having such a busy schedule this time of the year... I feel like I'm missing out on all the season's fun, and I love Christmas! :( Here's to hoping that life slows down once next week is over!

A Christmas to Remember

Credits:
Fonts: CK Heritage; The Reed by Heather Hess

I only send out Christmas cards to a couple friends, and I've got half a mind to turn the top left part of this LO into a photo card.. What do you think? I am not thrilled about that picture of us, but it's the only recent festive one I've got, and I think it looks decent after I processed it in RadLab.

Sunday, December 9, 2012

A Little Joy

creashens has a new kit in the store and it's just adorable!


I love the colors in this kit!!

Christmas Trees
Credits:
Font: StamPete

Wow, almost 2 weeks to Christmas! I wish I could slow down time to enjoy these days more, but alas, I had to work both days this weekend.. :(

Saturday, December 8, 2012

December Daily - Day 1

I am happy to be able to share Day 1 of my December Daily album! It uses a gorgeous new kit by Jenn Barrette that is 20% off today:


If you follow my blog, you know I have a bit of an obsession for color matching my pages with my photos, especially in my Project Life album... but I swear to you that this page came together on its own! I prepared a couple of cards with Jenn's kit, and after printing out the photo of the gingerbread house I was amazed to see how well it went with this particular card. :)

DD 2012 - Day 1

I stamped directly on the photo here - all stamps are from the sold out Christmas kit by Kelly Purkey.

DD 2012 - Day 1

Here's a closer look at the card. :)

DD 2012 - Day 1

I made a vellum envelope to hold a few more pictures - I had a lot from this day. The flair button from JCPenney was perfect with the theme and colors of this day too. :)

DD 2012 - Day 1

Here's the stack of photos from the envelope.

DD 2012 - Day 1

And the back of the envelope.

DD 2012 - Day 1

The right page is all photos, with some digital word art added.

DD 2012 - Day 1

And that's Day 1! Hope you enjoyed it! :)

Friday, December 7, 2012

December Daily 2012 - It Has Begun!

I am so excited to be working on one of my favorite projects: December Daily. Put together two things I love - Christmas and crafting - and I'm in heaven! Dec. Daily is a concept started by Ali Edwards to document the Christmas season day per day. I completed a mini album both in 2010 and 2011, and I'm at it again this year. :)

For my first page of the 2012 December Daily, I used a paper by Sahlin Studio, in the gorgeous December BYOC at The Lilypad (25% off through the weekend!):


This is the first page you see when you open my album:

DD 2012 - title

The picture at the bottom was taken on Dec. 1st, and it's the only snow we've seen so far, but I hope we'll have a white Christmas this year, so I thought it was perfect to put it at the front of my album. :)

Come back tomorrow to see the rest of my Day 1! I'm so excited about how it turned out!


Monday, December 3, 2012

Elf on the Shelf - 2012

Last year I got DH an Elf on the Shelf for his birthday present (which comes shortly before December). It was a huge hit! We don't have kids, but who said elves are just for kids? We have a lot of fun with our elf. :) We named him Jingle Ginger, and I find him adorable! Like all elves, he's loves candy and sweets, and ends up in trouble quite often, but he makes up for it with a big heart. :) I won't be posting pictures daily this year, but rather weekly, and here's the first few days' worth of photos. He made his apparition the day after we put up the tree, but DH didn't spot him for a few days after that. ;)

Elf 2012

By the way, I love my Christmas tree! I put it up with my mom, and it's so pretty!

I had no clue what to get DH for his birthday this year, but when I saw a helicopter at Macy's on Black Friday for $19.99, I decided to pick it up, since it's something he'd talked about every now and then. Well...  he couldn't have been happier! :) Yay me! And Jingle Ginger had fun playing with it too.. ;)

Elf 2012

See? He's behaving so well this year! Not naughty at all! The following day, we found him sound asleep beneath the tree. So sweet!

Elf 2012

Uh-oh... I spoke too soon! He got in the chocolate stash the next day!!

Elf 2012

Well, what can you do? Elves do love chocolate after all... Day 5 was December 1st, and Jingle Ginger reminded us to get going on our Advent calendar. :)

Elf 2012

And then he got in trouble again!! We put lights on the spruce in our front yard, and Jingle Ginger wanted to help, but got all tangled up!

Elf 2012

Do you have an Elf? It has certainly quickly become a favorite tradition at our house! :)