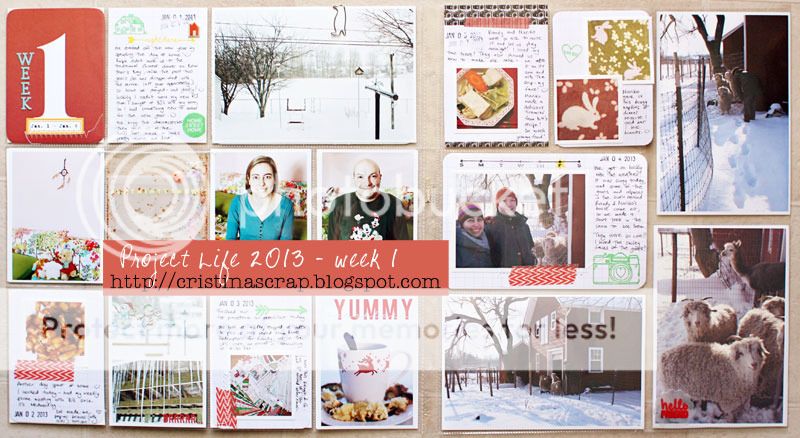
I finished my Week 1 a couple of days ago, and it feels so good! I became a subscriber at Studio Calico for their Project Life kit, and I am so glad I did! The January kit is sold out. I love what I got: lots of journaling cards in different shapes and orientations, stamps, labels, washi tape and a cute little alpha.. Perfect for PL! I didn't use much of it this week because I started working on my spread before the kit arrived, but I think that the touches I did add are so pretty!
This week I had a lot of photos (we made a short trip to visit some friends), so I added an insert (Design G photo pocket). I'm sorry but I won't be sharing the second half of the week online for privacy reasons, but I have plenty of details to share for the first half of the week. :)
Other than the Studio Calico kit, I used Becky Higgins' grid journaling cards (both 3"x4" and 4"x6"), and one card by Valorie Wibbens (Today Journal Cards - I have a bunch printed out and ready to go, they're so pretty and versatile!).
I went with red and green accents this week. The red came from the Studio Calico kit (the big "1" card and the washi tape), and I added green just for fun. As you can see, this year I decided to add a .25" white border to my photos - I love this look! OK, here are some detailed shots.
I love to number my weeks, and as soon as I saw the number cards included in the kit I knew I'd be using them for this. :) The stamps I used are by Studio Calico (stamped with Colorbox pigment ink), and the puffy sticker is by Amy Tangerine. I use a Micron pen for journaling.
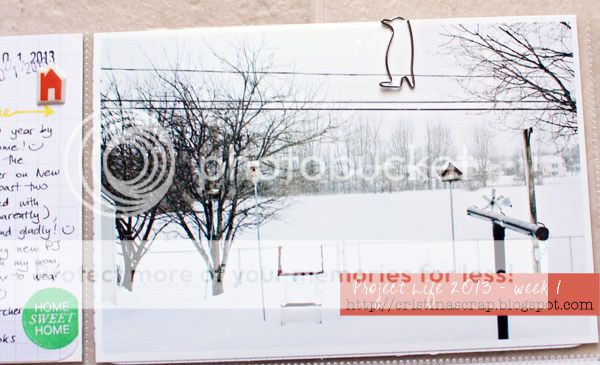
The photo in the top right corner of this page kept falling out, so I added a penguin paperclip to keep it in place, since it went well with the snow theme. :)
This is the back of my confetti pocket from the title page - love it!
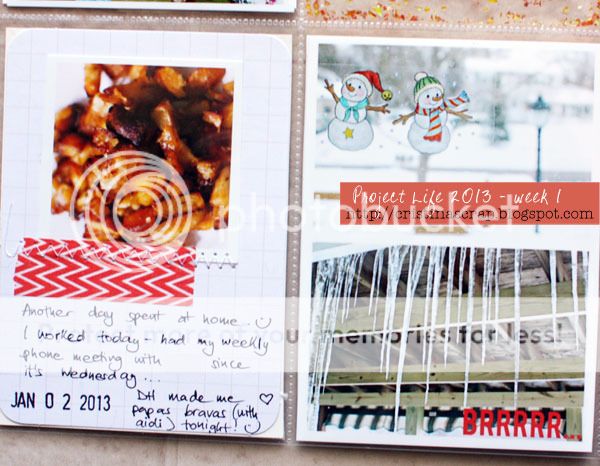
I love making simple cards with a photo, some washi tape + stitching, and journaling. My favorite part of Project Life is sitting down to journal on the cards. :)
The arrow stamp is by Dear Lizzy.
With the pretty embellished Today Journal Card by Valorie Wibbens all I had to do was add a photo and journaling.
More Studio Calico stamps, plus a camera stamp by Amy Tangerine.
I embossed the stamp (by Amy Tangerine) onto vellum using watermark ink and Rouge Zing embossing powder. Then I used the Tim Holtz tiny attacher to attach it to my photo. In case you were wondering, embossing directly on photos just plain doesn't work... ;) I tried it twice on two different photos (this one and the one of DH and me on the title page) before I finally convinced myself that it cannot be done. :) The powder just turns small dots and doesn't fill in the whole stamped area. Using vellum is a great option for me- I just love the look of embossing on vellum!
And that's it for week 1! I hope you enjoyed this (lengthy) post! :)


i'm loving that penguin walking a tight rope! hey, we see birds on telephone lines all the time. just not always penguins :) so enjoying exploring your blog this morning. cheers!
ReplyDelete