Showing posts with label write.click.scrapbook. Show all posts

Thursday, May 21, 2015

May gallery

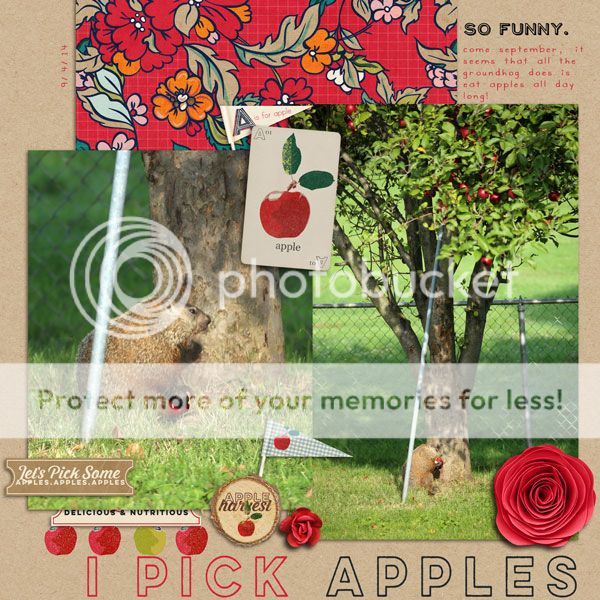
With my travels, I never shared here the page I made for the May gallery at write.click.scrapbook. The theme was everyday, so I scrapped a couple pictures I took of a groundhog in our backyard. Looking out our kitchen window is one of my favorite daily activities!


Credits:
Bloom Papers and Bloom Elements by Paislee Press
A Pretty Mess by Kaye Winiecki
The Golden Friends fonts by Heather Joyce


Have a nice day!
Friday, February 13, 2015

Hybrid Page

I am reposting a quick hybrid tutorial I made for the write.click.scrapbook blog.

I ventured into scrapbooking from the digital side and, while I still do all-digital pages, now I also love incorporating digital designs in my paper pages. Digital designs are so easy to use. They can be as simple as adding an overlay on top of your photos, or they can be used to jumpstart the page's design, like in the example I will show today. What I really like about it is that I can plan my page on the computer before committing to paper.

The start: on the computer
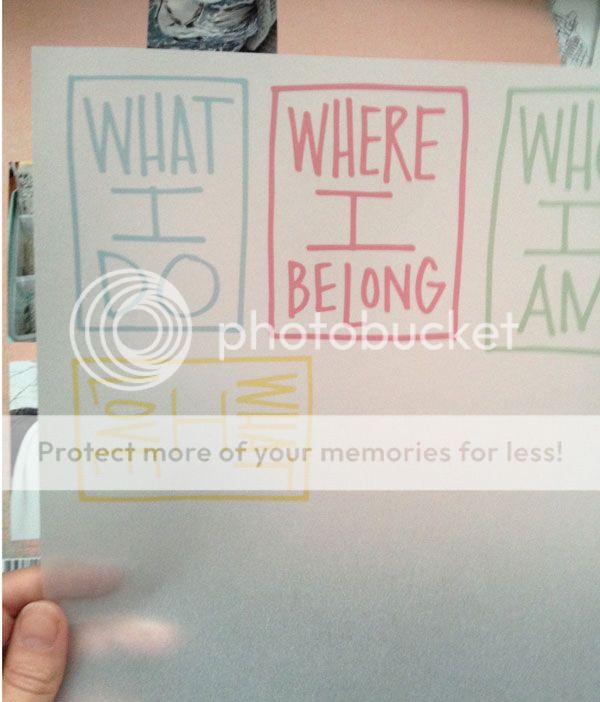
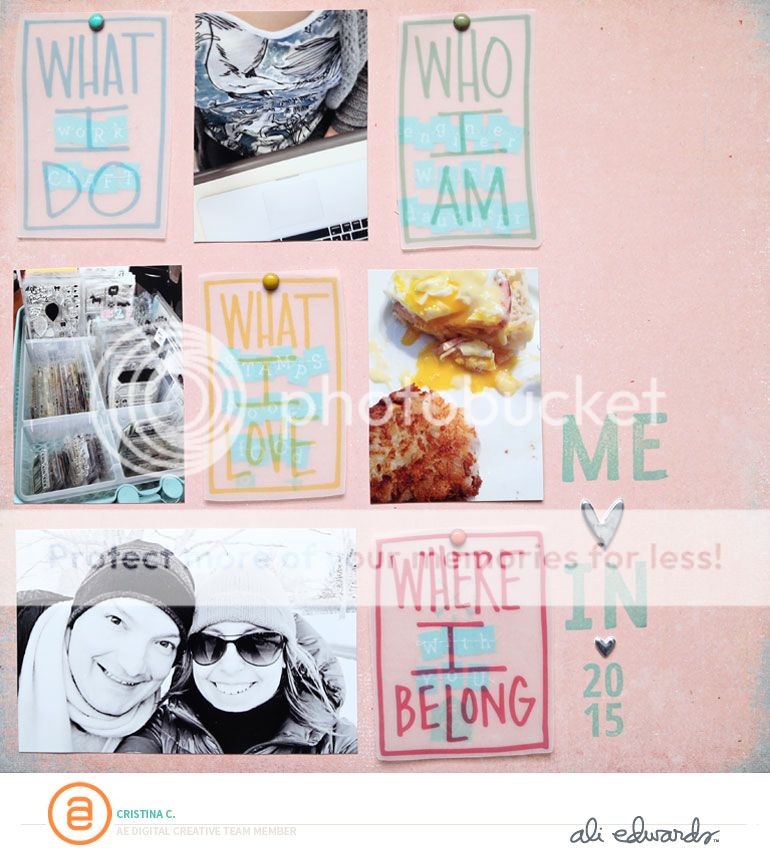
For this page, I used a set of digital brushes by Ali Edwards called Who What Where Why Boxes. I was inspired by this set of brushes to make a page about me, so I selected four boxes that would help me tell the story. I laid them out on my canvas in Photoshop, and picked four photos to go along with them. I also changed the color of the boxes. I laid everything out in a nice grid design.


This could very well be a digital page as is, and could be completed by adding some simple journaling. Instead, I decided to turn it into a hybrid page -- this means that I printed out the digital elements and my photos, and combined them with some papers and embellishments from my stash.

Print
I print everything at home - it's so much easier for me to be able to go from computer to paper in one click and a few seconds. I recently got a new printer and I like the quality of the prints. For this page, I wanted to add some texture, so I decided to print the digital brushes on vellum paper. I printed the photos on photo paper.


Match with other supplies
Next, I picked a neutral background paper from my stash (by Basic Grey). I also used some letter stickers (Simple Stories) to add a few words under each box. I used colored brads to attach the vellum boxes to my page.


I stitched down the letter stickers with my sewing machine. At first, when I laid out my page on the computer, I was planning to make an 8.5"x11" page. But then, after placing the photos and boxes on the background, I liked the white space on the side, and decided to keep it and add a stamped title.


And there you have it!


I love the texture that these boxes add to my page with the see-through effect.


And now.. I'd love to hear from you! Do you incorporate digital designs in your pages? Leave me a comment and let me know!

Thursday, January 1, 2015

Hello 2015!

Hello, and Happy 2015!! I hope you had a great start of the year!


The January BYOC is in the store at The Lilypad, and I used it to scrap this page:


Credits:
A Slice of Lemon papers and A Slice of Lemon elements by Pink Reptile Designs
Lanky Alpha by Amy Martin

January is the Month of Challenges at The Lilypad: one challenge each day, and if you complete them all you get a $20 gift card to the store! And a chance to become a Pollywog like me (= creative team member.. best gig ever!!). :) I hope you will play along! I am hosting the Jan. 4th challenge, so look for my post on Sunday.
I played along with today's challenge.


Credits:
White Out Patterns and Backgrounds by Allison Pennington
Silver Linings elements by One Little Bird
Let's Go overlays by Paislee Press
Sprinkles v31 by Valorie Wibbens


This is my first page scrapped in 2015, and I am in love with it!!

I also have a page to share from the January monthly gallery at write.click.scrapbook. This month's theme was "decades".. I was stumped at first, then I took this occasion to document something I don't think I would have documented otherwise: my love for 50s music! :)


Credits:
Straight Up papers and These Are the Days by Kaye Winiecki
Don't Stop the Music elements by Pink Reptile Designs
The Serif's Sister font by Heather Joyce

I worked on my Project Life album today, but my printer is dying and I am unable to print pictures. So frustrating! I have my eye set on a new printer, but until that happens I guess I'll have to stick to digital pages. :)

Friday, December 19, 2014

December Daily Update

I want to give you an update on how my December Daily album is progressing. Last month I talked a bit about what my plans were for this year, and it's time to check in and see how I am doing.
My plan for this year included: handmade album, with pages of different sizes; one story per day.
As fate has it, this December has turned out to be by far the busiest I have  ever had. I thought it would be hard to top last year's craziness, but it has indeed happened. In the past two out of three days I have been at the office from 8 AM to 10:30 PM. And I see no end in sight, yet Christmas is less than a week away. Ugh! So while I am not up to date with my December Daily album, given that I have very little time to work on it, I have made a little progress and I have been taking photos regularly and keeping track of what story I want to tell each day. I hope to get a good chunk of it done just before Christmas, because I know my inspiration dips significantly once Christmas Day has passed. 
I haven't bought any new Christmas supplies this year, but I have a sizeable stash to draw from and it is fun to finally use all these pretty bits that I had been hoarding.
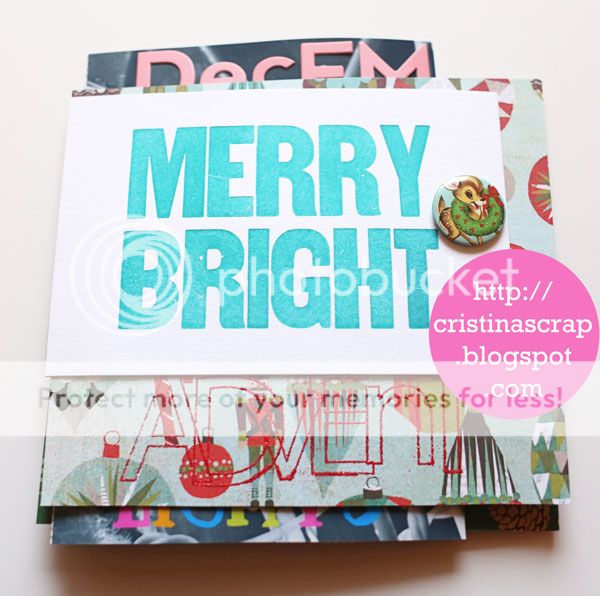
Now it's time to show you some pictures of my album so far. I haven't worked on the cover yet - I will do it at the end since I need to see what size my album will have. But I plan to include this pretty gold star vellum paper at the front. of the album.


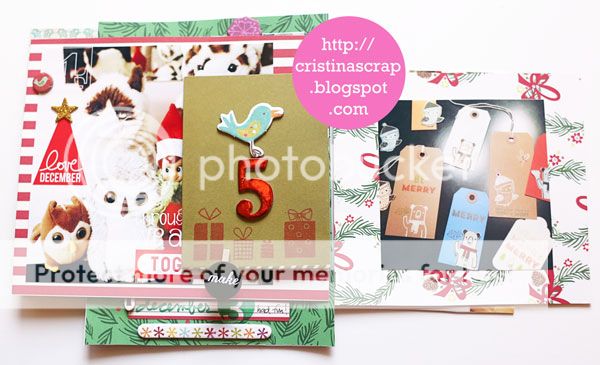
And here's what all my pages stacked together look so far. I have days 1-7 done at this point.


I love having pages peeking out. I think it adds a lot of interest to the album!


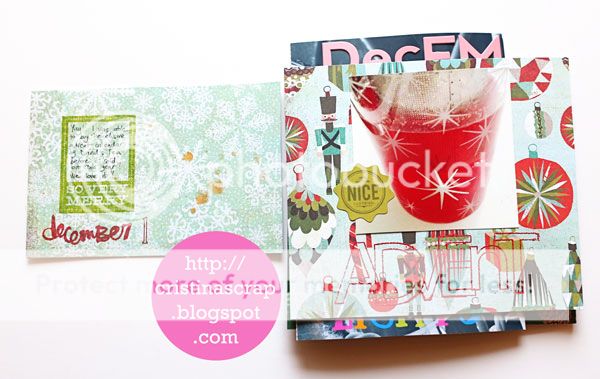
For December 1st, my story was about the tea advent calendar we got this year.


For this spread, I included a 3x4 pocket as a page to hold some journaling.


I like to include stamping in my album because I love stamps so much!


And now.. I'd love to hear from you! Have you been documenting your December? Leave me a comment and let me know!

Thursday, December 11, 2014

December

Ah, December... I love this month because of Christmas, but I hate hate hate all the bustle of the end of the year deadlines! This year is especially bad... I have started working on my December Daily in the evenings, but I have only about four days done so far.

So for now all I have to share is the layout I made for the December gallery at write.click.scrapbook.


I am really in love with this page!! Not your traditional Christmas colors, but so festive nonetheless. :)

Wednesday, November 26, 2014

December Daily - Take 5

This post was originally posted on the write.click.scrapbook blog.
The most wonderful time of the year is starting soon.. and I am starting to make plans on how I want to document December this year.
I have completed a December Daily album in each of the past four years, and I am at it again this year for the fifth album. This really is my favorite project. I love Christmas, and I love documenting it.
In these past four years, I have taken different approaches to putting my album together, and I want to share my impressions with you. Each of these four albums was put together using my stash.

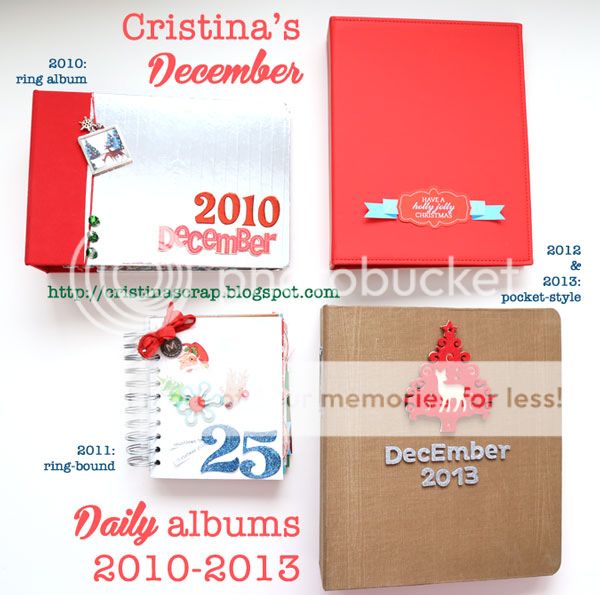
My 2010-2013 albums


In 2010, I used a 2-ring album. The pages were all hybrid, and I used my Silhouette extensively. In 2011, which was once again all hybrid, I assembled the album using my Cinch. In 2012 and 2013 I used pocket scrapbooking. Here's a look at the inside of the albums.


I love combining different shapes and textures in the album - you can see how I used bubble wrap at the front of my 2010 album and vellum at the front of the 2011 and 2013 albums.

What I liked & what I want to change

 And here is a peek at some random pages in my albums.


As you can see, in my 2010 album I combined a lot of different shapes of pages. I love this and want to do it again in 2014!
In 2011, I added lots of journaling to tell my Christmas stories. I used each 2-page spread per day, one story per day. I want to do this again in 2014!
In all my albums, the number of the day is featured prominently. I want to do this again in 2014!
The pocket-album approach I used in 2012 and 2013 made it very quick and easy to put together my album and I was able to use up a lot of journal cards from my stash, but I found myself writing less. I also dislike that the different textures get lost behind a plastic protector.  I will not do a pocket album in 2014.

My process
In 2010, my first December Daily, I pre-made all the pages because I was traveling for most of December. I ended up not being able to keep up with the album during my trip, and finished it a few months later. The other three years I worked on my album as we went. In 2013 I actually fell behind and I finished my album after the summer. I definitely lose inspiration if I don't work on my album in December, so I will try to stay current as much as I can. But I know now not to worry if that fails, because I can catch up when things slow down. In any case, I find that waiting to have my pictures in front of me works best, rather than having all the foundation pages made first. I will make a list of Christmas topics to use for the days in which I don't have any Christmas-related story to tell.
And now.. I'd love to hear from you! Are you looking forward to December? What are your plans for documenting this month? Leave me a comment and let me know!

Wednesday, October 1, 2014

Hello October

The end of summer / early fall is such a lovely time of the year. I am savoring it.
Today I want to share the page I made for the October write.click.scrapbook gallery. The theme was "scraps", so I used up some products I had in my stash, namely the September BYOC from The Lilypad. The October BYOC is being released this Friday, so I was happy to get another page done before that.


Credits:
Documentary papers by Sahlin Studio
In the Orchard elements by Stolen Moments Design

Fonts: NeoRetro Draw, DJB gimme space

Thursday, September 18, 2014

Letterpress and Scrapbooking

Hello! I am sharing here the post I made yesterday for the write.click.scrapbook blog on letterpress. I just started letter pressing last week, and I am in love! A while back I showed you how to create a faux letterpress look using embossing folders, but today I want to show you how to do real letter pressing.
Here is what you will need:
  • Die cutting machine. I have a Big Shot.
  • Letterpress platform. I have seen people who say they can letterpress just by adding some cardstock shims and the regular cutting pads, but I didn't want to have to guess every time so I bought the platform - and I have no regrets! Especially since letterpress paper is pretty expensive and I don't want to waste it on trials.
  • Letterpress paperThe type of paper you use is critical to get a deep impression and get the most out of your letterpressing. I know some crafters have great results with watercolor paper, but that has not been the case with the watercolor paper I had on hand, so letterpress paper it is for me. 
  • Letterpress platesThere are many designs available, I'm sure you'll have fun picking your favorites!
  • Ink. To be honest, I have not tried letterpress ink just yet. I've heard horror stories about how hard it is to clean up, so I started going the easy way, and I have just used ink pads for now. :) The examples on this page use distress ink pads (I love the bright colors). I also love doing blind impressions (no ink) as I think adding the ink detracts a bit from the deep impression. More recently, I tried pigment inks and also letterpress inks - the cleanup isn't really that bad as long as you use the convenient wipes that come in the letterpress kit, and the coverage is the best!

With the idea of putting a page together, I made two letterpressed cards using plates from Studio Calico.
Letterpress_web
For the card on the left I used the picked raspberry color, and I added spiced marmalade for the card on the right to get an ombre effect.
I used the Poet Society kits by Studio Calico for my page. Using the letterpressed cards, it was very easy to build a design using my photo and some strips of patterned paper. I added some stamping with grey ink to tie to the background paper, and completed the page with some gold splatters and sewing. 
Today-BackToSchool_web
Here are a couple detail shots.
Today-BackToSchool-det1_web
Today-BackToSchool-det2_web
I hope this has inspired you to give lettepress a try - I love how easy it is to put together a page starting from a couple of letterpressed cards. Share your creations in the comments! I'd love to hear your tips too, as I am just starting out myself.

Tuesday, September 2, 2014

Hello September

New month, new gallery at write.click.scrapbook. This month's theme is Back to School.

As I am getting ready to start the second and last year of my degree, it was fun to sit back and look at the pictures I have collected over the past year. I decided to take a picture of me for each week of class, and I love looking back and thinking about all that I have accomplished.

Year 1 photo 201409_WCS_CristinaC_Year1.jpg

Credits:
Project Grids 3 template by Amy Martin
Daiy Brads no. 1 and Typeset Alphas No. 3 by Sahlin Studio
The Dirty Dame font by Heather Joyce and Valorie Wibbens

There were a lot of colors in these pictures, so I decided to convert most of them to black and white and only keep a few favorites in color.

It's kind of daunting to think I have nine more exams to go.. but one at a time, I will tackle them all. Let's go!

Sunday, August 3, 2014

The Best

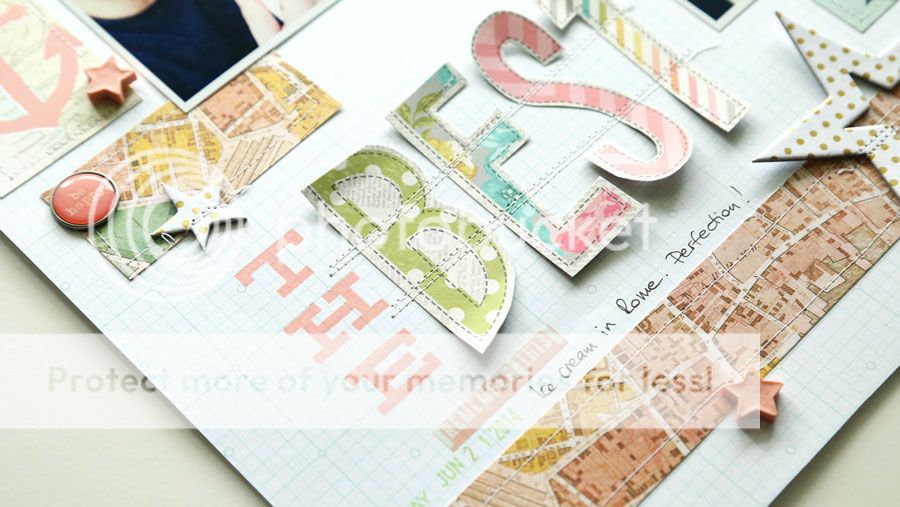
The August theme for the monthly gallery at write.click.scrapbook was "the best". I had just the right pictures for this theme: ice cream in Rome! :)

The Best.jpg

I love how this page turned out! I pulled out some supplies from my stash (mainly the Planetarium kit from Studio Calico from May of last year).

The Best.jpg

I love these gold chipboard stars by Pink Paislee. I had been hoarding these last few, but I was happy to use them on this page.

The Best.jpg

And now I'm off to make the most of this Sunday before the work week starts! :)

Sunday, July 6, 2014

Hello July!

Well, we're a few days into July already (eeeek!), but I wanted to share the page I made for this month's gallery at write.click.scrapbook, themed "the great outdoors".

Summer

Summer has never been my favorite season, but as the years go by, I appreciate it more and more. I love how this picture I took captures the feeling of summer for me.

Sunday, June 1, 2014

Hello June!

A new month means a new page for the monthly gallery at write.click.scrapbook!

Happy Anniversary

Here's a closer look at the modeling paste and silver mist.

Happy Anniversary

This past week I blogged a whole series on Anniversaries.


You can check out the posts here:

Day 1: Anniversary layouts
Day 2: Scrapping milestones
Day 3: Anniversary cards
Day 4: Anniversary mini albums
Day 5: Anniversary gifts.

Have a great Sunday!

Friday, May 2, 2014

Ready for NSD?

Eeeek. It's May. And National Scrapbooking day is tomorrow!! Do you have crafty plans? I have school meetings in the morning, but after that I plan to get crafty. Yay!

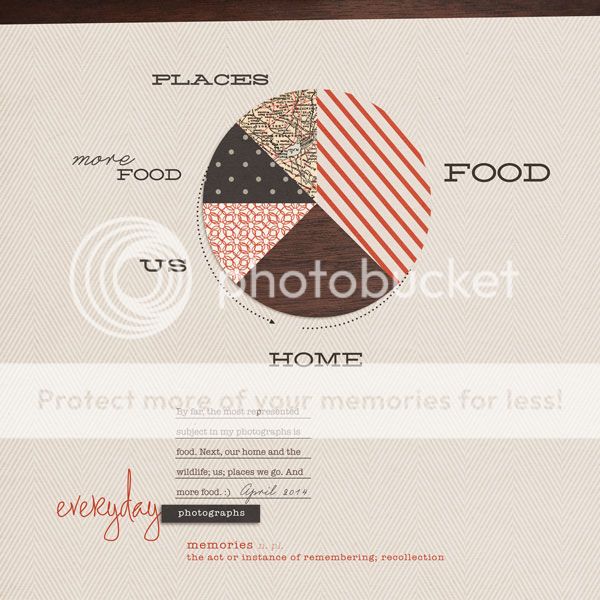
In the meantime, here's a couple of pages from me. The first is for the write.click.scrapbook May gallery. The theme was "everyday".

Everyday Photographs


Credits:
Scrap Your Stash Sketch 5, Good Eats word art and Happy Place word art by Digital Design Essentials
Photobooth by Paislee Press
Fonts: American Typewriter, Castro Script, Silverfake


It was my first page with the oh-so-trendy pie chart, and I like how it turned out.

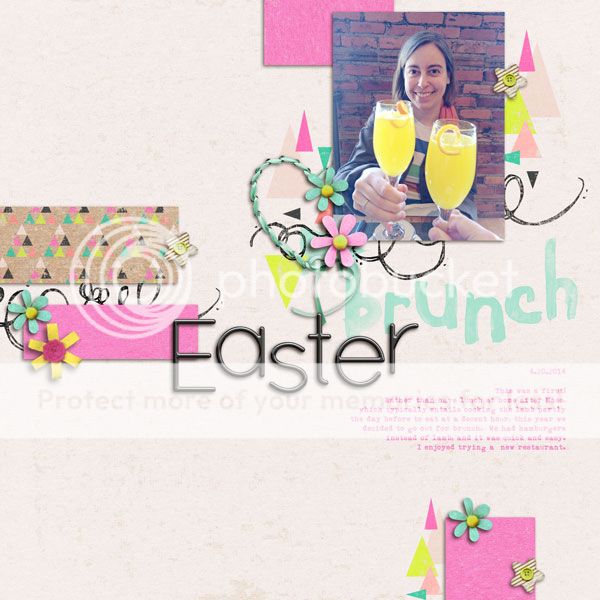
Next up, I had fun with creashens' new kit!


Oh, that pink+yellow combo has me smitten!

Easter Brunch

Credits:
Keen by creashens
Wet Paint Alpha by CD Muckosky
The Damsel Series fonts by Heather Joyce and Valorie Wibbens

Happy NSD! Make sure to stop by at The Lilypad for all the fun games, and to kiss a certain frog... ;)

Tuesday, April 1, 2014

April Already?

Hello and happy April! I am so happy to share the page I made for the April write.click.scrapbook gallery.

Me #2014

Credits:
Real Life collection bundle by Digital Design Essentials
Journal Junkie - Bright HeartGood HarvestDoodles-a-Fancy Borders and Blessed Beyond Belief by CD Muckosky
The Golden Friends fonts by Heather Joyce

I just love how it turned out! It also was scrap therapy for me, since I scrapped it at the low point of an awful week. I just love this hobby/creative outlet!

Monday, March 17, 2014

Mini Album with the Citrus Twist March kit

I'm up on the write.click.scrapbook blog today with a mini album project. For the month of March, the team has received kits from different kit clubs and used them to make a mini album. My turn was with the March kit from Citrus Twist, and let me tell you - I had a blast!! I had never used a kit from Citrus Twist before, and when I opened my box I was amazed by the gorgeous combination of product. The colors were right up my alley, and made working on this project an absolute joy!


The wood veneer and stamp for the kit weren't available yet when they shipped me the kit, so I got a previous add on stamp and some wood veneer arrows instead. The only thing I haven't used in my album is the black washi tape. In addition to the album featured on the write.click.scrapbook blog, done exclusively with the Citrus Twist kit (plus doily + tags from my stash), I have added some stamping and a couple embellishments in the final version of my album, shown here.

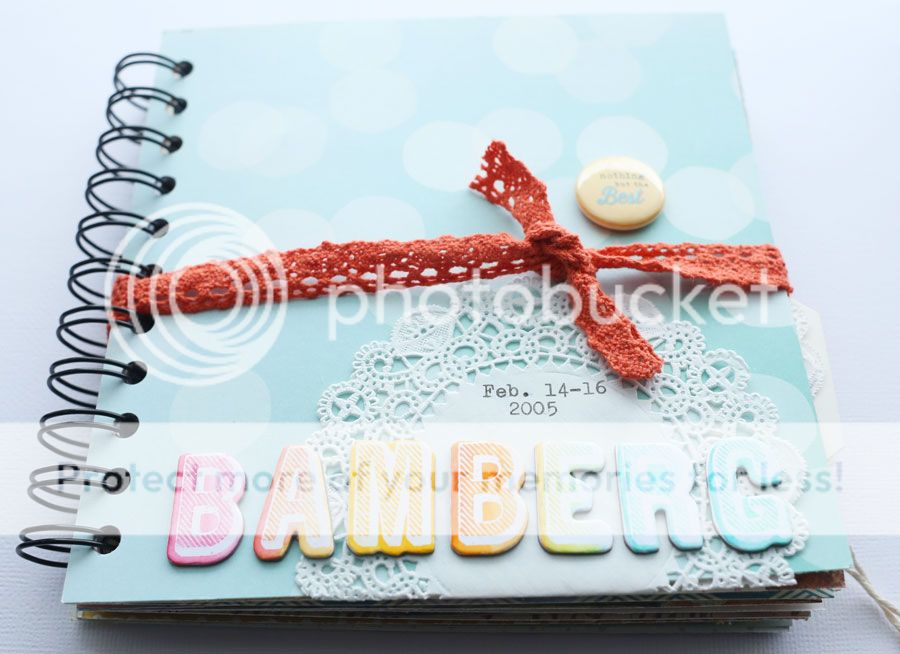
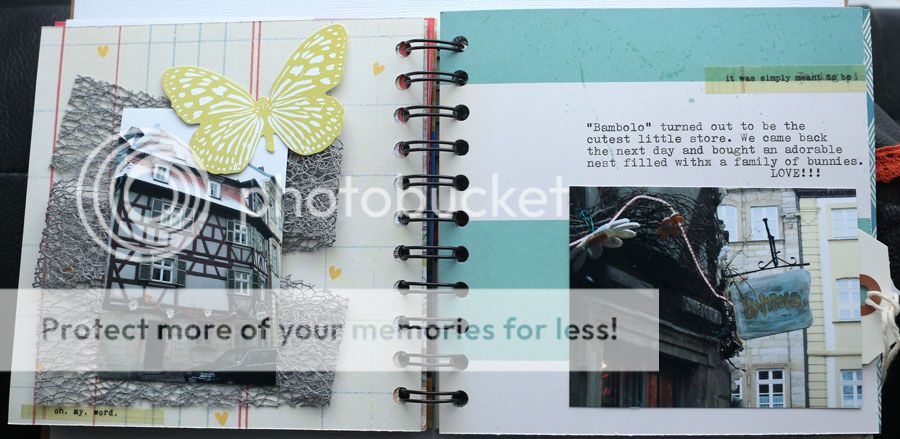
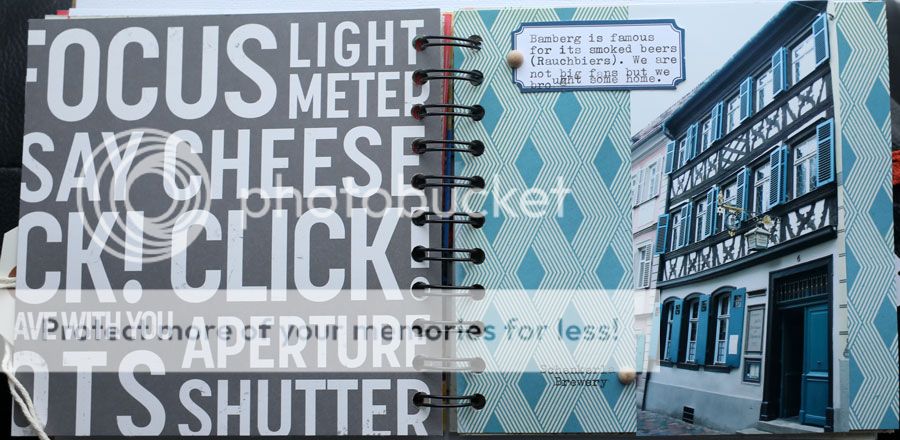
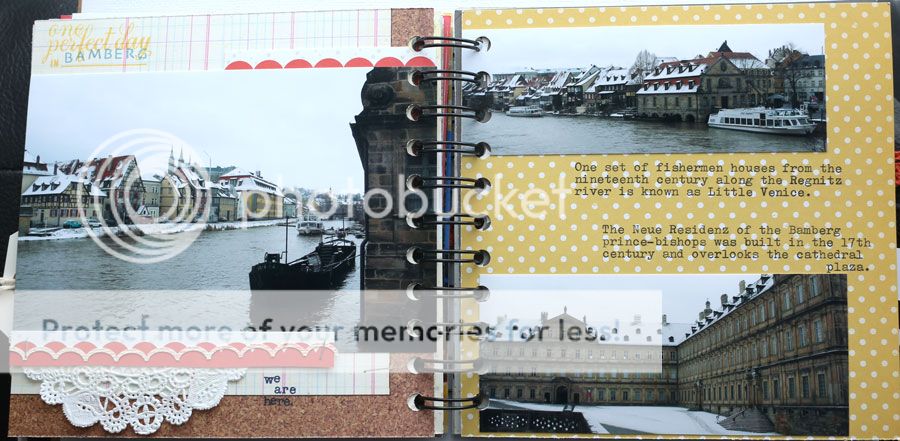
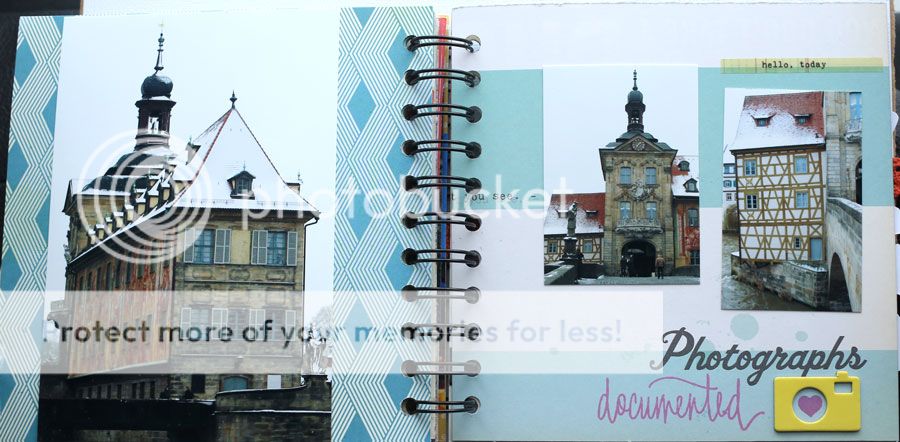
Bamberg mini album

The kit's pretty colors and embellishments are especially suited for spring, but I had in mind to scrap a winter vacation we did back in 2005, and I thought the kit worked great for it too!

Bamberg mini album

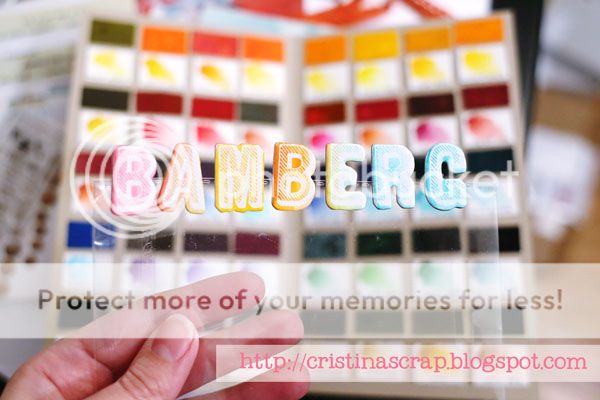
The album is 6"x6", and I bound it using my Cinch binding machine. One of my favorite things was coloring the letters for the cover. Rather than using the mistable thickers with mists, I painted them with my watercolors.

watercolor

As you may know, I love color, so I went with a gradation from pink to blue for my title. :)

Now, I will walk you through the pages of the album. There are fourteen double spreads, so sit back and relax. ;)


In most pages I used 4"x6" photos. I did all the journaling using my typewriter. The stamping (mostly sold out stamps from Studio Calico) was done with Hero Arts shadow inks.


On this spread I used my mists in several way. To recolor the wood dots and wood veneer arrow, to add some droplets, and to mist the cardstock background on the right.


I also cut out some of the hearts from this pretty Dear Lizzy paper to use as embellishments throughout the album.


Mostly, I let the photos take the stage. Bamberg is such a magical town! 


This paper was so pretty that I ended up using it on both sides of this spread.


The fun ribbon included in the kit was perfect to add texture to this page!


I love the bold statement of this paper by October Afternoon on the left paired with the Crate Paper one on the right- they matched my photo perfectly!


I love the pop of color on the paper I used to mat this photo. The little vellum stickers words from Studio Calico were perfect to add a little something to my pages.


It has been nine years since we took this trip, and we could only remember a couple of the things we did. So I looked for some facts on the internet about the buildings we visited. I am so happy to have this trip documented now!


I loved both sides of the Studio Calico Lemon Lush paper I used to mat my photo on the right, so I decided to fold the corners to show both sides. :) I love the pop of color!


I made a photo collage on the left using templates by Designs by Lili to feature a collection of neat sightings from around town. On the right page, I cut a few strips from the Lemon Lush paper and sewed them down with gold thread.


I love the chipboard cameras in the Studio Calico Essentials line!


It was funny to see how few picture of us we took on this trip. Well, what can I say? Our picture taking habits have certainly improved since I became a scrapbooker. :)


And that's it! Thirty seven pictures and one epic trip documented.


Thank you so much to Citrus Twist for this opportunity!